

Hat Digitizing Guide: Clean Embroidery Files for Caps
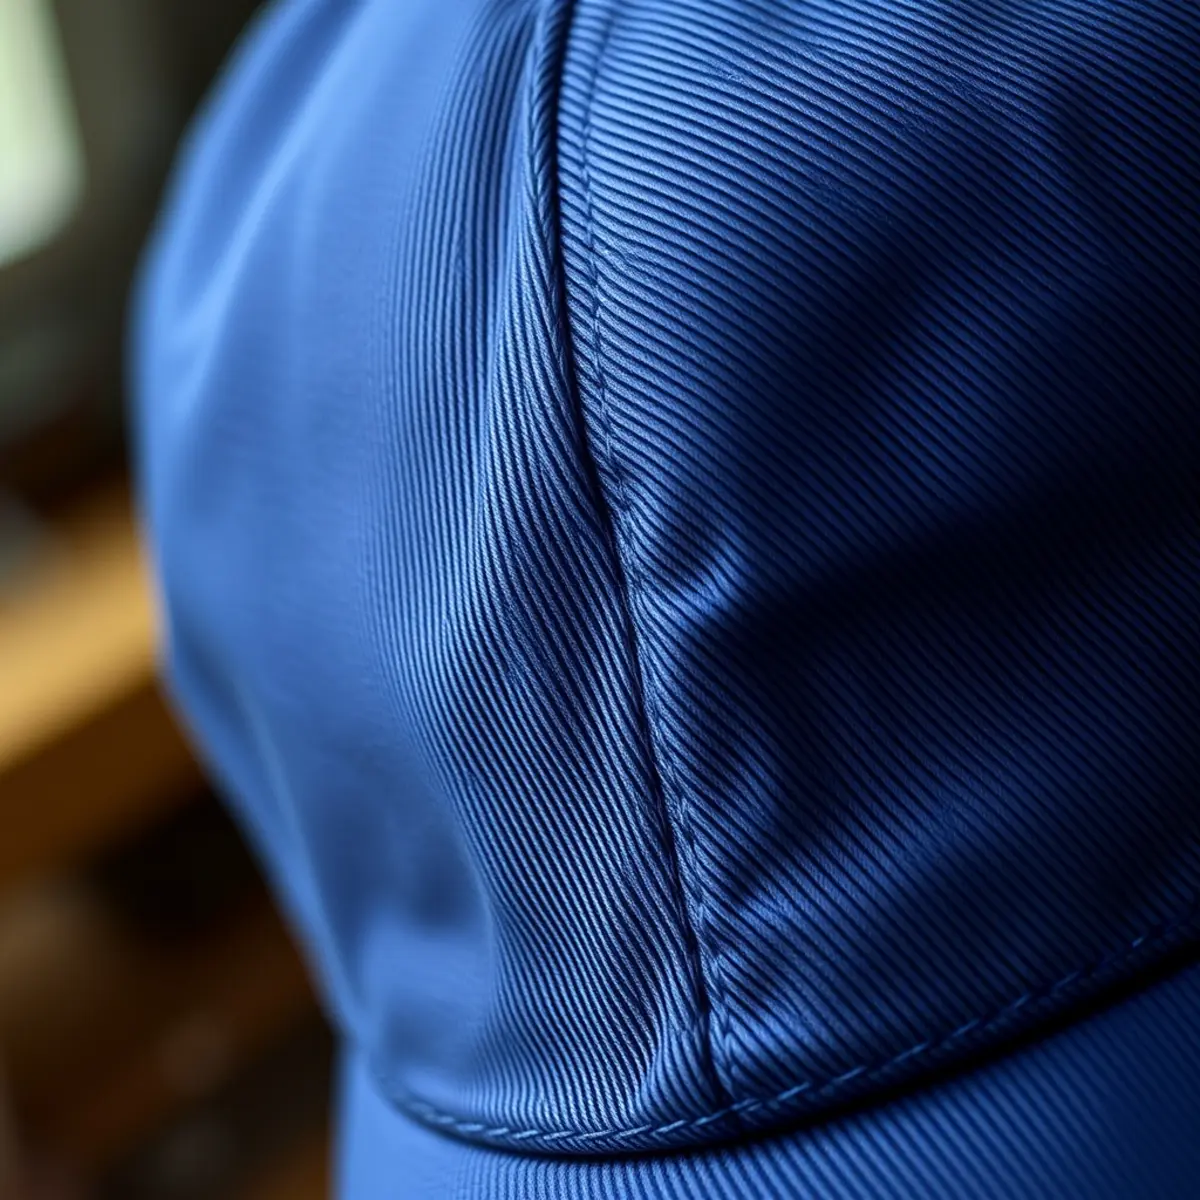
Hat digitizing converts flat graphic artwork into specialized stitch instructions designed specifically for the curved, tensioned panels of headwear. When running standard flat embroidery files on caps, needles push fabric unpredictably, resulting in severe puckering, misalignment, and broken threads. Proper cap digitizing accounts for the curve of cap frames, the density of buckram backing, and heavy center seams to produce clean, sharp stitching on every run.
Quick answer: Hat digitizing is the specialized process of programming embroidery files to sew from the center out and bottom up, counteracting fabric movement on curved cap frames. This technique prevents gaps along center seams and eliminates material bunching. At EmboroStitch, professional embroidery digitizing starts from $13.50 per design, delivered in 24 hours in formats like DST, PES, and EXP.
Why Hat Digitizing Differs From Flat Embroidery
Embroidery machines sew caps on a cylindrical cap frame rather than a flat, stationary hoop. While a flat item like a jacket back or polo shirt lies completely flat against the needle plate, a cap is clamped onto a curved metal cylinder. As the cylindrical driver rotates during production, the fabric shifts along two different axes. Standard stitch files designed for flat apparel sew sequentially from left to right or top to bottom. If you run a flat file on a curved cap, the moving needles push excess fabric toward the edges, creating unsightly ripples or causing elements to drift out of alignment.
Caps also feature heavy internal stiffeners and physical obstacles. Most structured baseball caps include stiff buckram mesh inside the front crown to maintain shape, along with a thick middle seam where the front panels meet. A standard embroidery file lacks the underlay and needle penetration force needed to stitch cleanly across these thick layers. Understanding what embroidery digitizing is helps clarify why curved headwear requires dedicated digitizing parameters rather than generic auto-digitized conversions.
Technical Rules for Successful Cap Digitizing
Achieving clean results when digitizing for caps requires strict adherence to specific pathing, density, and compensation rules. Machine operators cannot compensate for a poorly digitized file simply by adjusting machine tension. The physical movement of the needle must work in harmony with the curved surface.
Bottom-Up, Center-Out Stitch Sequencing
The golden rule of hat digitizing is the bottom-up, center-out sequence. On a cap driver, fabric is anchored securely at the bottom sweatband and is loosest at the top peak of the crown. If an embroidery machine begins sewing at the top of a design and moves downward, it pushes loose fabric ahead of the needle, gathering bunched material right at the base seam.
By programming stitches to start at the bottom center of the design and move outward toward the sides and top, the needle pushes fabric away from the center. This action smoothly irons out the material against the curved cap frame as the pattern builds. Every element in a cap logo embroidery file must follow this pathing logic to ensure clean registration between borders and fill areas.
Increased Pull Compensation
All embroidery stitches pull fabric inward along the direction of the stitch while pushing fabric outward at the entry and exit points. Because cap fabric is stretched over a cylinder under radial tension, this pull effect is significantly stronger than on flat garments. Without manual adjustments, column stitches shrink narrower than intended, leaving visible gaps between neighboring colors.
When preparing files for headwear, digitizers apply a higher pull compensation setting—typically expanding column widths by 0.4 mm to 0.6 mm depending on whether the cap is structured cotton twill, polyester foam, or wool blend. This extra width ensures that when the thread pulls tight on the curved frame, the finished element matches the precise dimensions of the original artwork.
Specialized Underlay Stitching
Underlay is the foundational layer of stitching laid down before the visible top stitches. On flat garments, light running stitches often suffice. On caps, however, underlay serves as an anchor that binds the face fabric directly to the internal buckram backing before the satin or fill stitches land.
For solid columns, digitizers typically use a center walk underlay combined with an edge walk underlay. For larger fill areas, a light tatami lattice underlay stabilizes the fabric without adding excessive needle penetration. Proper underlay prevents the top stitches from sinking deep into textured twill or mesh.
Managing the Center Seam
Six-panel caps feature a heavy vertical seam running directly down the center of the front crown. This seam contains multiple layers of folded fabric, buckram, and heavy construction thread. If fine satin lettering lands directly over this ridge without proper planning, the needle can deflect, leading to jagged letters, skipped stitches, or broken needles.
To overcome the center seam, digitizers use specific techniques:
- Lay down an initial anchoring underlay bridge across the seam to compress the ridge before sewing visible details.
- Slightly increase the density of fill stitches crossing the seam to prevent the contrasting interior thread of the seam from showing through.
- Avoid positioning microscopic lettering or tiny details directly on top of the vertical divide.
Dimensions and Placement Guidelines for Caps
Cap embroidery has strict physical boundaries. While a flat jacket back can accommodate a 10-inch design, headwear is limited by the height of the cap frame clamp and the sewing field of the cylindrical driver. Exceeding these limits causes the machine’s presser foot to collide with the metal cap frame, causing mechanical errors.
| Placement Location | Standard Max Width | Standard Max Height | Recommended Stitch Types |
|---|---|---|---|
| Front Crown (Structured) | 4.50 inches | 2.25 to 2.50 inches | Satin columns, light fills, 3D puff |
| Front Crown (Unstructured) | 4.00 inches | 2.00 to 2.20 inches | Light fills, standard satin borders |
| Side Panel | 2.50 inches | 1.50 to 1.75 inches | Clean satin lettering, simple icons |
| Back Arch / Strap Area | 3.50 inches | 1.25 to 1.50 inches | Satin text arched along the closure |
For brands that require intricate details or artwork that exceeds standard cap embroidery fields, using custom patches for hats offers an excellent alternative. Physical emblems can be produced separately with intricate borders and then applied directly to the headwear.
Comparing Flat Digitizing and Hat Digitizing
To help you understand why your production files must be calibrated for headwear, the table below outlines the core technical differences between files prepared for flat garments and those prepared for caps.
| Parameter | Standard Flat Digitizing | Dedicated Hat Digitizing |
|---|---|---|
| Stitch Sequencing | Left to right, top to bottom, or color-block based | Strict bottom to top, center to outside edges |
| Pull Compensation | Standard (typically 0.2 mm to 0.3 mm) | High (typically 0.4 mm to 0.6 mm) |
| Underlay Density | Light to medium based on fabric stretch | Firm, multi-layer underlay to compress buckram |
| Maximum Design Height | Up to 12 inches or more depending on hoop | Strictly limited to 2.25–2.50 inches |
| Seam Reinforcement | Rarely required | Mandatory underlay bridge over center seams |
File Formats and Machine Compatibility
When you order professional digitizing, your finished file must match the mechanical operating language of your embroidery equipment. Commercial and prosumer embroidery machines read stitch-based instructions rather than vector curves. A properly digitized cap logo embroidery file contains exact needle coordinates, trim commands, and stop codes.
Common formats provided for commercial cap production include:
- DST: The industry-standard Tajima format, compatible with almost all commercial multi-needle embroidery machines.
- PES: Standard format for Brother, Baby Lock, and compatible multi-needle equipment.
- EXP: Melco and Bernina format containing precise trim and speed data.
At EmboroStitch, professional embroidery digitizing starts from $13.50 per design and is delivered in 24 hours. Rush orders are completed in 2 to 4 hours. Files are supplied in DST, PES, EXP, and other industry formats to ensure direct compatibility with your machine setup. Minor revisions are included so your file sews out cleanly on your chosen headwear.
Direct Embroidery vs. Custom Patches on Caps
While direct embroidery via a cap logo embroidery file is the standard for baseball caps and beanies, some designs are too complex for direct cap stitching. Gradients, photographic shading, tiny lettering under 4 mm, and complex multi-color emblems often struggle to sew cleanly over thick seams.
If your artwork features fine text or extensive fine detail, ordering custom patches provides crisp edge definition that avoids seam distortion entirely. Physical emblems allow you to choose from embroidered, woven, PVC, leather, or printed options that can be sewn or heat-pressed onto caps with flat-surface precision.
Frequently Asked Questions
Can I use a flat embroidery file on a baseball cap?
Using a flat embroidery file on a baseball cap usually results in poor registration, bunching fabric, and broken needles. Flat files are path from top to bottom or side to side, which pushes loose fabric into folds on a curved cap driver. Dedicated cap digitizing ensures the design runs from the center out and bottom up.
What is the maximum design size for hat digitizing?
For structured 6-panel caps, the standard maximum design height is 2.25 to 2.5 inches, with a maximum width of 4.5 inches. Unstructured caps have a slightly smaller vertical area of 2.0 to 2.2 inches to prevent fabric collapse near the top of the crown.
What file formats do I receive for cap embroidery?
Digitized embroidery designs are provided in major machine formats including DST, PES, and EXP. These files contain specific stitch coordinates, jump commands, and trims calibrated for your multi-needle embroidery machines.
How much does hat digitizing cost?
Professional embroidery digitizing at EmboroStitch starts from $13.50 per design with standard delivery in 24 hours. Rush turnaround is available in 2 to 4 hours, and minor revisions are included to help you achieve a clean sew-out.
How do digitizers handle the center seam on 6-panel hats?
Digitizers handle the center seam by laying down anchoring underlay stitches to compress the ridge before running satin or fill stitches. They also increase pull compensation and adjust stitch angles across the seam to prevent needle deflection and visible gaps.
Ready to Order Your Hat Digitizing?
Send your artwork for embroidery digitizing from $13.50 per design, delivered in 24 hours.
Need Custom Patches?
Send us your design and get honest pricing back within 24 hours, plus a free digital mockup before production. No obligation.
Get a Quote