

How to Order Custom Embroidered Patches: Step-by-Step Guide
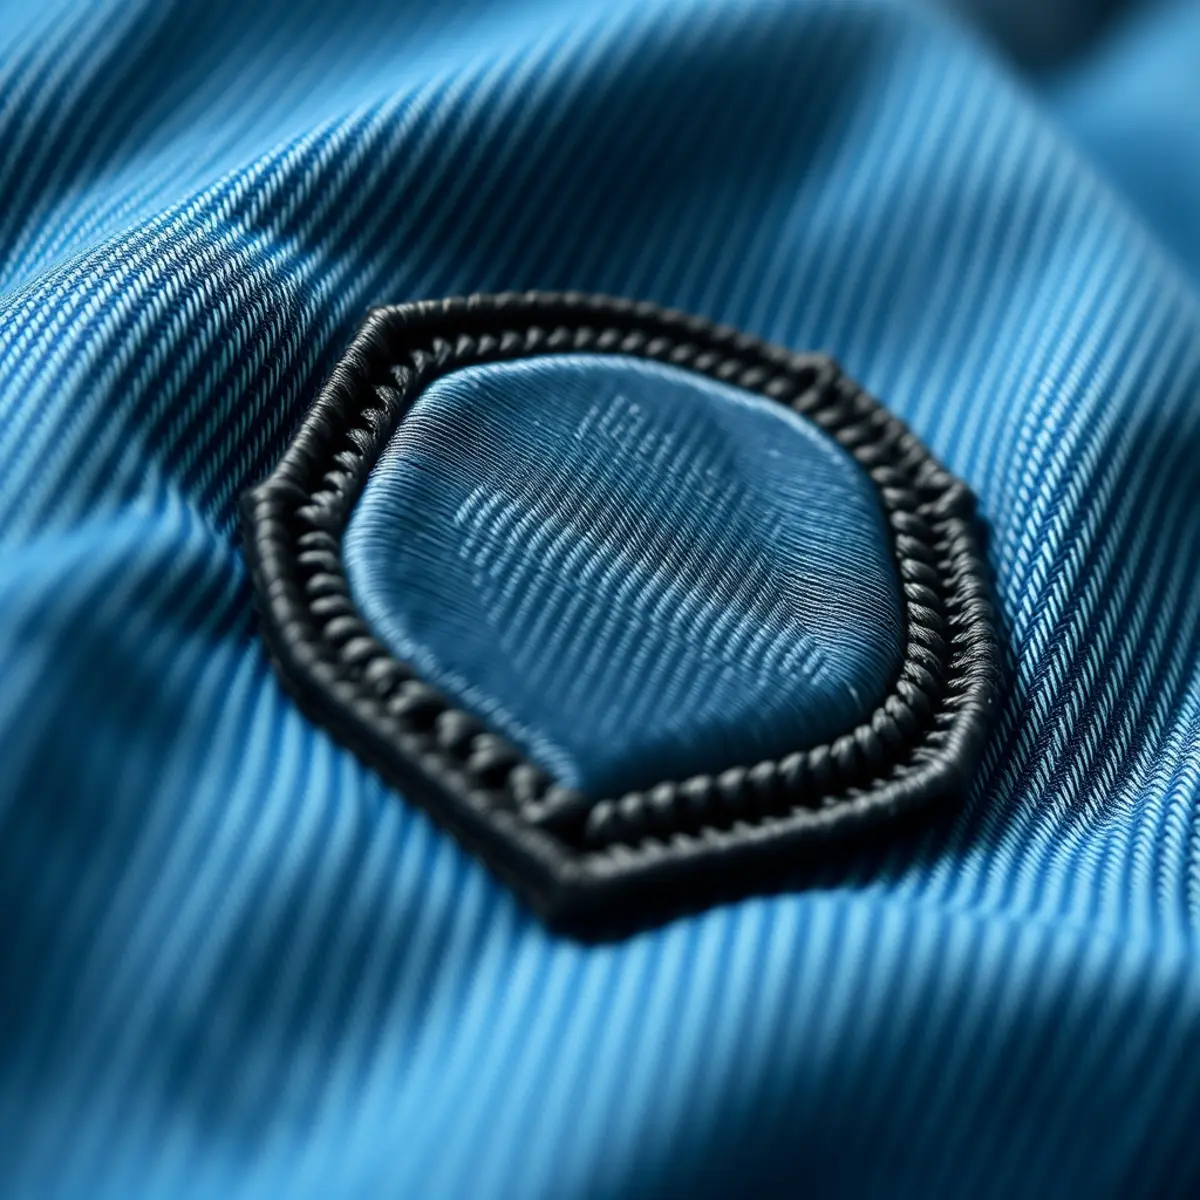
Learning how to order custom embroidered patches is straightforward when you know what details manufacturers need. You begin by preparing your design, selecting the right patch dimensions, and deciding on the border and backing options for your apparel. Once you submit your project specifications, you review a production proof before physical stitching begins.
Quick answer: To order custom embroidered patches, submit your artwork, dimensions, backing choice, and quantity through a quote form. You receive an itemized quote and a Free Digital Mockup Before Production showing the exact stitch layout, border, and thread colors. Once you approve the mockup and pay your invoice, your patches are produced in 7–14 business days.
Understanding the Custom Patch Ordering Process
Ordering custom emblems does not require prior manufacturing knowledge, but knowing the basic terminology saves time. Every custom badge starts as flat artwork, gets converted into a stitch file, and runs on multi-head commercial embroidery machines using colored polyester or rayon threads on a twill background.
At Emboro Stitch, we are a US-based patch company with our own production houses in Karachi and Sialkot, Pakistan. Because we have production experience since 2015, we handle the technical aspects of production directly. Our orders start at just 10 pieces per design, allowing brands, clubs, and workwear companies to order precise quantities without high volume commitments.
Step 1: Prepare Your Artwork and Design Files
Your design dictates the clarity and crispness of the final needlework. High-resolution raster images or clean vector artwork give the production team the detail needed to translate your graphic into thread.
Accepted File Types
We accept common graphic formats including PNG, JPG, PDF, AI, and EPS. If your artwork is drawn in vector format, our production team can easily scale the lines without losing clarity. If you only have a rough sketch or a low-resolution graphic, professional artwork cleanup can convert your idea into clean line work before production.
Simplifying Fine Details for Needlework
Physical thread behaves differently than screen pixels or paper ink. Very tiny lettering under 4 millimeters in height or intricate gradients can blur together when stitched with regular thread. When learning how to order custom embroidered patches, keep text bold and separate elements with clean outlines to ensure crisp reproduction on durable twill.
Step 2: Choose Your Patch Size and Coverage
Patch size directly affects readability, attachment placement, and overall cost. Sizing patches properly ensures your emblem fits jackets, caps, or uniform sleeves accurately.
Calculating Patch Size
Patch dimensions are measured using standard sizing calculations. To calculate your patch size, use the following formula:
Patch Size = (Width + Height) ÷ 2
For example, if your patch design measures 4 inches wide and 2 inches tall, add 4 plus 2 to get 6, then divide by 2. Your final patch size is 3 inches. Our standard price table covers sizes from 1 to 6 inches, while larger emblems are handled through a custom quote.
Selecting Embroidery Coverage
Embroidery coverage refers to how much of the underlying fabric base is covered with needlework stitches:
- 50% Coverage: Stitches form the logo and text, leaving large areas of the background twill fabric exposed. This works well for simple text badges and name tags.
- 75% Coverage: Threads cover the majority of the surface, creating pronounced texture while leaving minor background areas open.
- 100% Coverage: Stitches entirely cover the patch from edge to edge with solid thread. This produces a heavy, dense emblem with maximum texture and color depth.
Step 3: Select Backing and Border Styles
Choosing the correct edge finish and attachment backing determines how your patch looks on garments and how long it stays attached during daily wear.
Border Styles: Merrowed vs. Heat-Cut
A merrowed border is a traditional, rounded overlock edge stitched around regular geometric shapes like circles, rectangles, ovals, and squares. It wraps completely over the front and back edges of the patch base to prevent fraying.
A heat-cut border, also called a laser-cut border, is used for custom shapes with jagged angles, points, or irregular contours. The edges are sealed cleanly using focused heat, allowing complex contours without unraveling threads.
Backing Options
Your patch application determines the best backing style:
- Sew-On Backing: The traditional choice for permanent attachment. Sew-on backing is included in the base price and provides maximum flexibility and wash durability.
- Iron-On Backing: Includes a heat-activated adhesive seal on the back. It is included in the per-piece price and attaches quickly using a standard commercial heat press or home iron.
- Velcro (Hook and Loop) Backing: An add-on backing that features hook material stitched to the patch, with optional loop backing attached. This style is ideal for tactical vests, uniforms, and flight suits.
Step 4: Request an Embroidered Patch Quote
To start your project, submit your design and specifications through our online form to request an embroidered patch quote. Because we do not use an automated online shopping cart, our team manually reviews your graphic requirements and provides a detailed invoice with every cost clearly listed before you pay.
| Order Quantity | Example Size | Price Per Piece | Backing Included |
|---|---|---|---|
| 10 pieces (Minimum) | 3-inch | Quote upon request | Sew-on or Iron-on |
| 50 pieces | 3-inch | $3.80 each | Sew-on or Iron-on |
| 100 pieces | 3-inch | $2.55 each | Sew-on or Iron-on |
Pricing per piece drops significantly as production quantities increase at 25, 50, 100, 250, 500, and 1,000 pieces. Setup fees are already included in the per-piece price, so you never encounter unexpected hidden setup charges.
Step 5: Review Your Free Digital Mockup Before Production
Once you accept your project quote, our team converts your artwork into an embroidery file. This process is called digitizing, where an artist programs exact stitch types, angles, and densities. You can also order standalone embroidery digitizing starting from $13.50 per design if you run your own machines.
For custom patch orders, every order includes a Free Digital Mockup Before Production. This visual rendering shows:
- The exact outer border type and border width.
- Stitch flow directions and dimensional layering.
- Thread colors confirmed on your free digital mockup.
- Specified dimensions and selected backing style.
Minor revisions are included to adjust details before physical needlework begins. Physical manufacturing starts only after you review and approve this mockup.
Step 6: Production and Delivery
Once your mockup is approved, production begins in our manufacturing facilities. Standard production takes 7–14 business days after you approve your mockup. If you face a strict deadline, rush production is available in 3–5 business days for an added rush fee.
After manufacturing and final quality inspections are finished, orders ship directly to your address. Shipping is charged separately and shown on your quote, and we ship to all 50 states with tracking provided upon dispatch.
Comparing Embroidered Patches with Other Styles
While traditional embroidered patches remain the industry benchmark for depth and classic appeal, other styles might better suit specific logos:
- Woven Patches: Use thinner, tighter threads woven together rather than stitched onto twill, making them ideal for ultra-fine text or small lettering.
- PVC Patches: Made from molded, flexible rubber that withstands extreme weather, mud, and water without fading or fraying.
- Leather Patches: Offer an upscale, natural aesthetic popular on workwear beanies, trucker hats, and outdoor apparel.
If you are unsure whether embroidery fits your artwork, reviewing our guide on what is embroidery digitizing will help clarify how physical thread paths are constructed from graphic files.
Frequently Asked Questions
What is the minimum order quantity for custom patches?
Orders start at just 10 pieces per design. Our tiered pricing structure lowers your cost per piece as your order volume increases at 25, 50, 100, 250, 500, and 1,000 pieces.
Can I see what my patch will look like before paying for production?
Yes, every patch order includes a Free Digital Mockup Before Production. We show your thread colors, dimensions, borders, and backing on the proof, and minor revisions are included before sewing starts.
How long does the production process take?
Standard patch production takes 7–14 business days after you approve your digital mockup. We also provide a rush production option completed in 3–5 business days with an applicable rush fee.
Are setup and mold fees charged separately?
No, setup fees are included in the per-piece price shown on your invoice. Your quote shows every cost before you pay, so there are no unexpected production charges added later.
What payment methods do you accept for custom orders?
We send an official invoice payable online. You can complete payment using credit cards, debit cards, PayPal, Payoneer, or direct bank transfer and ACH.
Ready to Order Your Custom Patches?
Orders start at just 10 pieces, and every patch order includes a Free Digital Mockup Before Production. Send us your design and your quote shows every cost before you pay.
Need Custom Patches?
Send us your design and get honest pricing back within 24 hours, plus a free digital mockup before production. No obligation.
Get a Quote